
Astrophotography for Beginners - A guide to night sky photography.
The worlds fastest crash course in capturing the night sky. This blog is written with the assumption that you already know basic photography terminology and are familiar with the settings on your camera. It’s meant to be a basic crash course in getting your first milky way shot. Let’s talk about how astrophotography works.

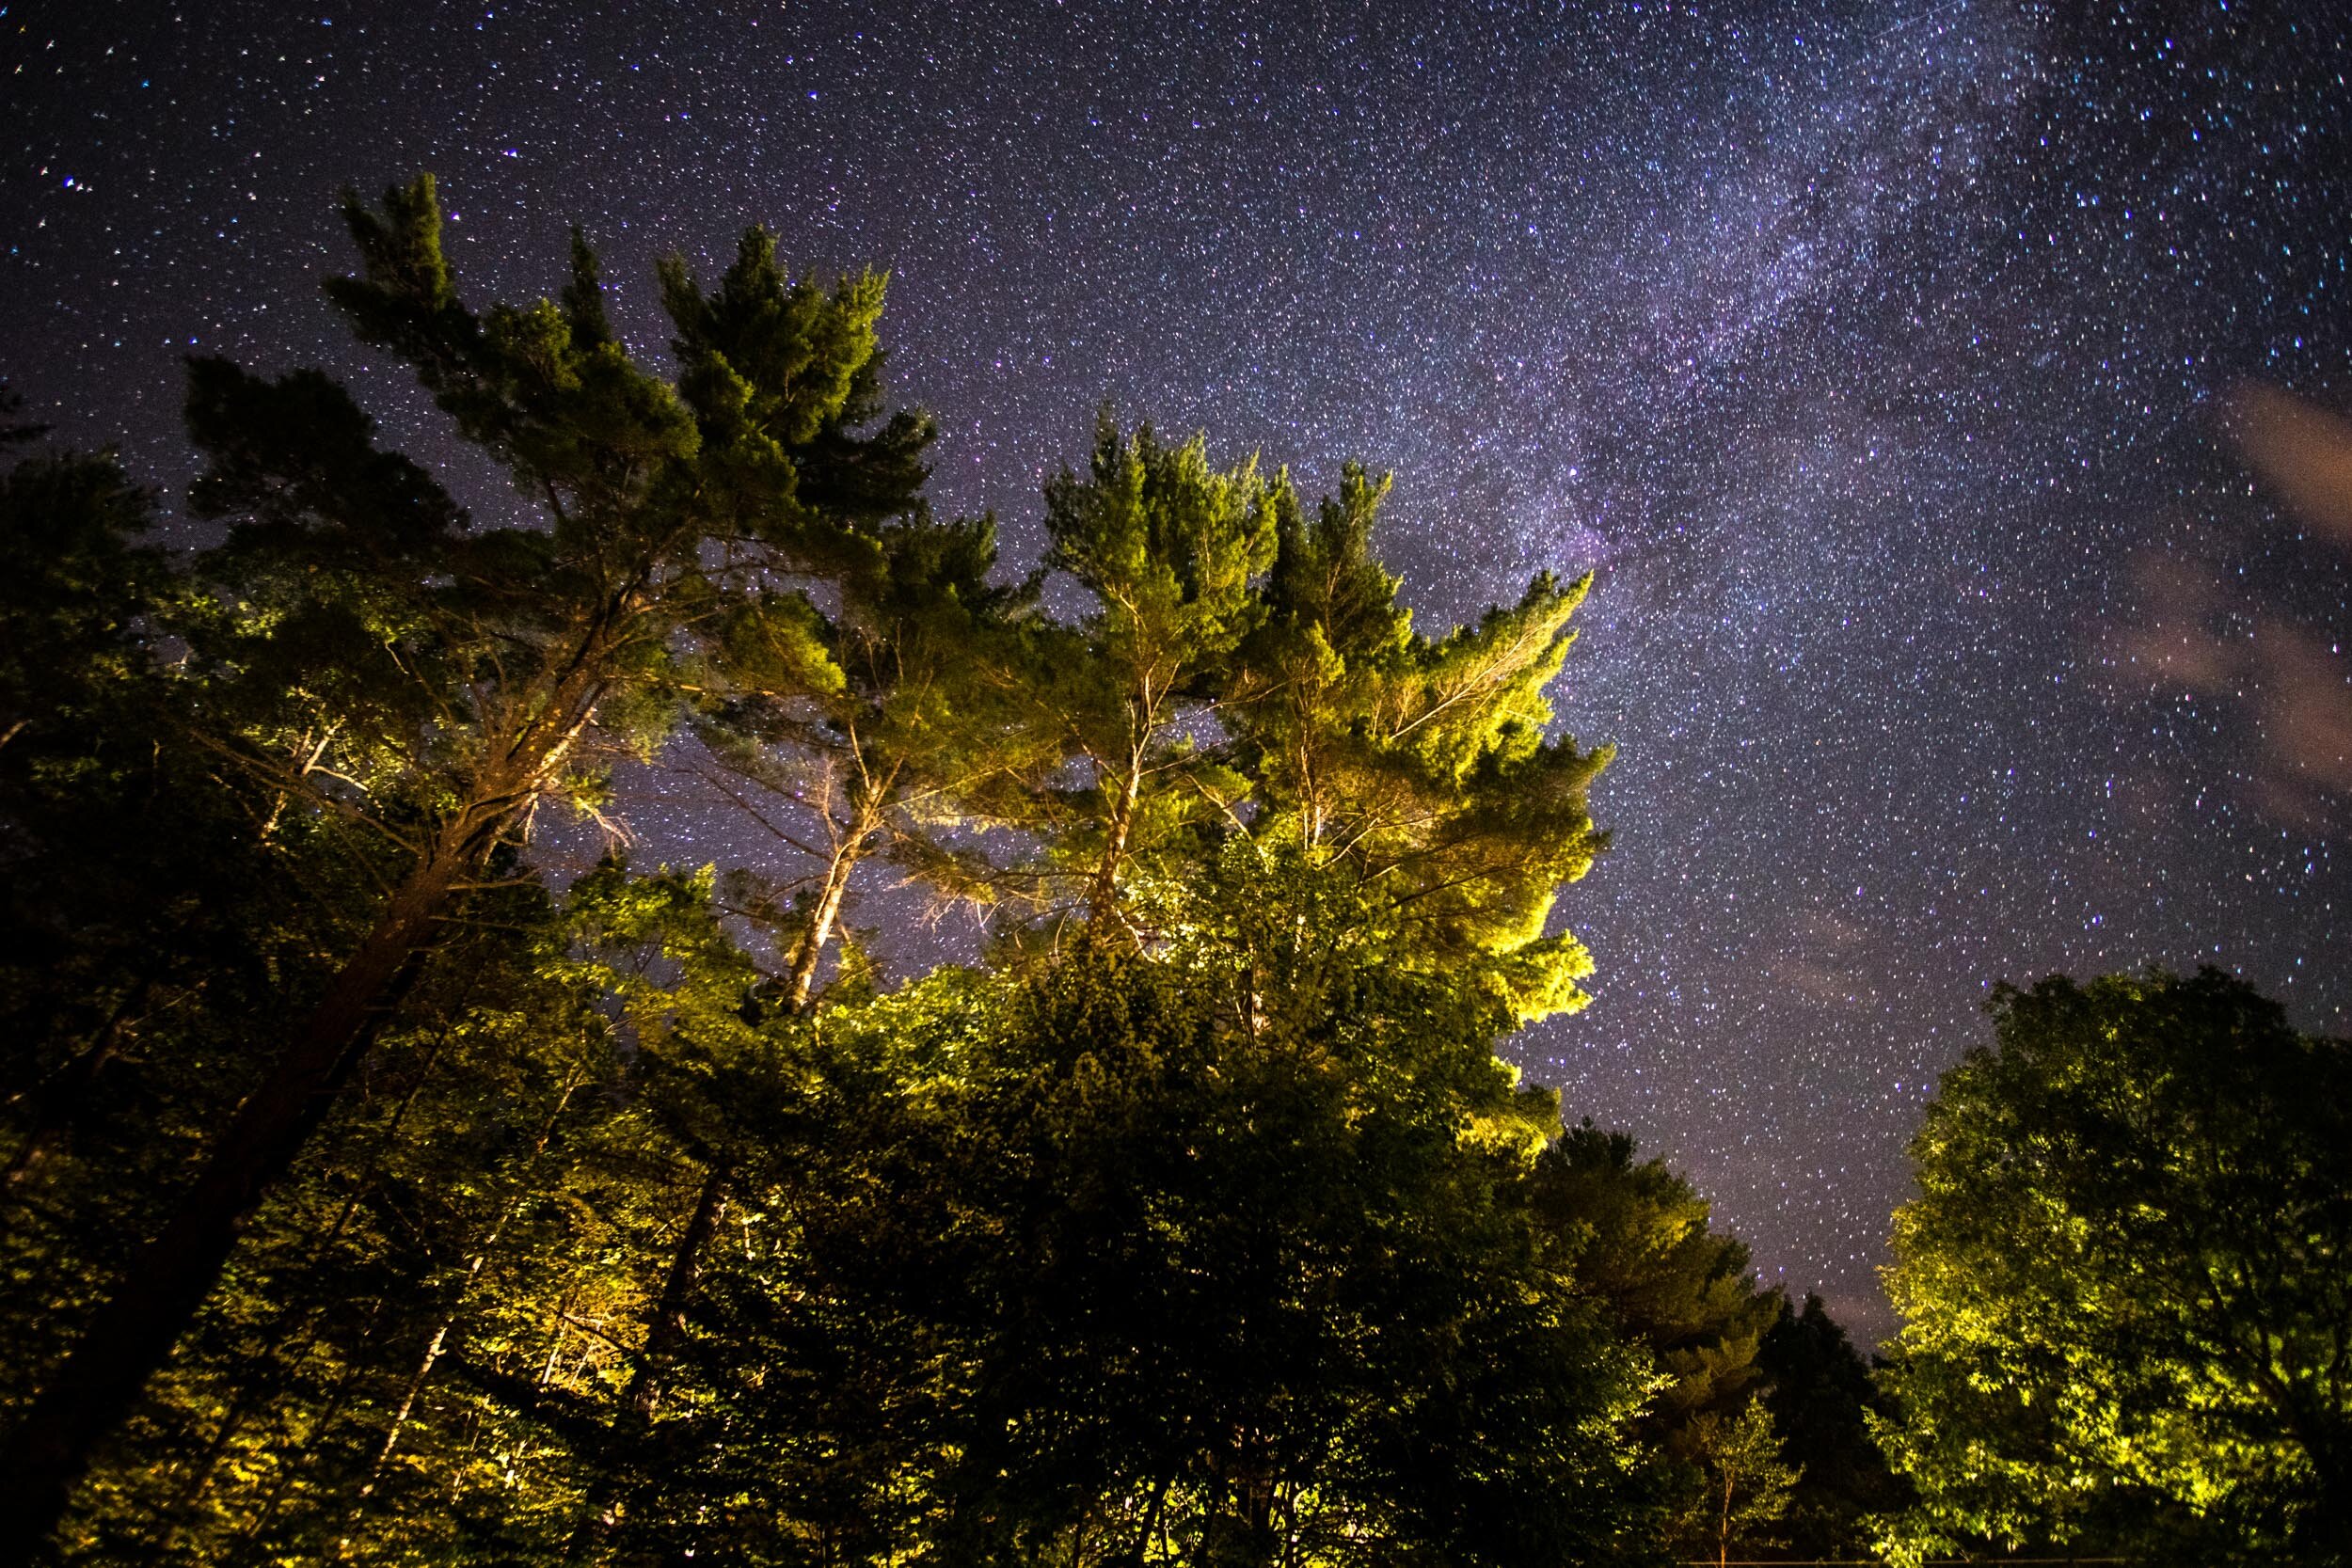
Joshua Tree, CA. May 2018
Step 1: The Essential Gear
To shoot the stars you need a pretty basic kit. You can spend as much as you’d like but for a beginner just about any modern DSLR or mirrorless camera can capture the night sky. The absolute bare minimum can still get you great results.
That means getting:
A modern DSLR/mirrorless camera
A wide angle lens with a big aperture (a low number such as f1.8 or so makes for a great astrophotography lens since it lets in more light)
A sturdy tripod. Astrophotography without a tripod is not a good time. Trust me.
That’s really it. When I first started I had a Sony a6000, Rokinon 12mm f2 and a Benro roadtrip tripod. (Affiliate links). Another great new lens to use with a Sony APS-C camera is the Sony 11mm f1.8. This is a much more advanced lens than the Rokinon for not much more!
The sony a6000 line in general is a great starting point for photography. This includes the a6100, a6300, a6400, a6600 etc. There are minor differences between them but generally they perform well in most photography situations. The lenses above work with all of these e-mount bodies. That 11mm paired with any of the above bodies is a great landscape photography setup not just astro!
This setup got me lots of output and I even sold a lot of prints with photos taken with this setup. I highly recommend these products.
Taken with the Sony a6300 and Rokinon 12mm in New Hampshire, 2016.
Older cameras can have some issues with low light when shooting at a high ISO but this is easily remedied by taking many (like 10) exposures back-to-back and stacking them. If you have photoshop, this isn’t as hard as you’d think. Google around and you’ll certainly find some guidance on that.
Stacking is a little advanced so let’s get back to basics. What do you do when you want to shoot the milky way?
Planning
1. Plan for shooting during or around a New Moon. This means there is no moonlight in the sky to wash out any stars. This occurs once a month so it allows you time to plan. Astrophotography with a full moon in the sky is possible, but you won’t get as contrasty or punchy of an image.
2. Can you do astrophotography in a city? Probably not, light pollution sucks and it’s the bane of my existence! Use a light pollution map to find your location. There are a few of them but here’s one I use: https://www.lightpollutionmap.info This allows you to find a spot with dark skies near wherever you’re at. You’d be surprised at how scattered lights can seem but aim for a spot where there isn’t too much light pollution in the direction you’ll be shooting. Astrophotography and light pollution are mortal enemies.
3. Use an astrophotography app such as Sky Guide, which is an iOS app. This app allows you to change your location and time manually and see exactly where the moon, planets and milky way will be at any given time.
3b. Another popular app is Photopills. This is a much more advanced method of scouting your shot and may be a little too complex for a beginner, but as you grow your skills this is a great way to do some recon.
4. Plan for the weather. Clouds are bad. This is the most unpredictable part obviously but using a few different weather apps/sources can be really beneficial as you plan your shoot. I use Clear Outside
5. Scout during the daytime. You’ll be shocked how difficult it can be to scout a location in pitch darkness. If you picked a spot with no light pollution you’re at the mercy of whatever flashlight you brought with you (please don’t just use your phones flashlight, it won’t have the range necessary to navigate terrain safely, or do, I’m not your dad).
6. Find a focal point. Straight up shots of the stars are neat, but they’re way more interesting when there’s something in the foreground to add scale and visual interest.

Airglow over Mesa Arch, Canyonlands National Park, Utah. June 2018
Ok I’m alone in the middle of nowhere and it’s pitch dark, now what?
This is gonna sound corny as hell but… take a second to look up and really enjoy the moment. Not a lot of people get to experience a truly dark sky anymore. Don’t just consume it through your camera lens. Build a relationship with the sky and you’ll always want to come back to see your friends in the sky.
The test shot:
This is something I do whenever I get to a site. I crank the ISO all the way up and frame my shot then take a quick 2 second exposure. It won’t be a usable picture but it lets me know my framing a little better than having to use my flashlight. This way I know if my composition is good or not. I adjust, take another shot, and repeat as necessary.
Once I have the composition I want, the easy part starts. Actually taking the photos.

Mars, Saturn and Jupiter above Utah, May 2018. Test shot on the left, final composition on the right.
How to Focus and shoot your first Astrophoto
Surprisingly enough. This is the easy part. There’s always a little trial and error but you can more or less get the settings right by instinct once you’ve done it enough times.
Switch your camera to Manual mode.
Switch your focusing to manual. Manual everything, especially your focus and yes, even your white balance.
A lot of people ask, WHERE do I focus? Well, turn on live view, and on the rear screen choose a bright star in the sky. Move your focus towards infinity, then adjust your focus to get that star into a single pinprick in the sky. This should be at or near the “infinity” marker on your lens if you have one. Note that “infinity” isn’t precise on many lenses, don’t just swing it over to the far end of the focus ring and assume it’s correct, always double check with either live view or by taking a photo and zooming in. Manual focus and live view are the easiest ways to focus your astrophotography. Just make sure not to move that focus ring later!
Input your settings, usually I start with something like
The widest aperture you’ve got (the lowest possible number), in my case f/2.8
ISO 6400
Shutter speed of 500/focal length
Okay wait… the last one??? wtf???
Ok I never warned you there would be math. There’s always surprise math in photography and it’s definitely the worst part. Sorry.
It’s called the 500 rule. The Earth is rotating much faster than you think. Wider lenses can expose for longer without getting trailing from the stars.
For example — if you have an 18mm lens you just do 500/18 and get ~27. That means you can expose for up to 27 seconds and still have relatively sharp stars. If you’re using a standard 50mm lens then 500/50 = 10. You can only expose for 10 seconds. Note that if you’re using a crop sensor camera to use the 35mm equivalent focal length for this. For example if you’re shooting on an a6000 and a 12mm lens. You multiply 12 * 1.5 and get 18. Then you do the 500 rule. Alternatively you can just divide by 300 for a crop sensor camera. Got it?

Ok this is an extreme, and deliberate of what star trailing looks like. Aeschiried, Switzerland, January 2020.
Experimentation with shutter speed is important as there are many variables such as focal length, your latitude, pixel density on your sensor and god knows what else. The point is to only use the 500 rule as a guideline, not a rule.
A lot of photography is trial and error, this is no different. Once you get your settings down, it’s as simple as that. Need a little more brightness? Maybe you can bump your ISO a bit and just stack. Are your corners blurry? May stop down a little bit. There’s an endless combination of settings that can get you a great photo.
Once you get the hang of these, you’ll be surprised what kind of details you can get out of the sky.
Clear skies, y’all!